ko-fi

Translate

Welcome To My Darkside


Thursday, October 18, 2012

Halloween Giveaway Evil Twins Candle Props


This giveaway is now closed!

I want to thank all who joined in and I hope you will continue to follow for more good things to come! This was my first giveaway it was great fun and I even chatted with a few of you which I really enjoy! I will definitely be doing this again! Enough about that and on with the...


Winner!


Valerie from All the pieces of me


It's give away time!


Meet the Evil Twins


Who will be the brave sole to take home the pair, will it be you?
The Evil Twins are the results of my paper towel roll tealight candle art experiment. A few years back I ran across a how-to on how to make pvc ficker light prop candles and really wanted to make some. I had neither of those two things on hand. What I did have sitting right in front of me was a paper towel roll! Little did I know what would come from that paper towel roll or if it would even turn out as good looking as the PVC candles. Well needless to say they have become a main staple of my creepy creations. Candles are to me a must have when creating a spooky ambiance and in the spirit of DIY and Re-purposing everyday throw aways, they're all about that. The plus side to these candles are that they are all of those plus safe and easy to use.

Why I chose the twins for this giveaway is that they were the first of my original designs to become popular, therefore, I thought they would be the perfect choice for the giveaway.

Since creating the twins, my candle creations have evolved into more elaborate creations,


however, I have kept the twins simple and as close to the original design as possible, due to the fact that they are not made from a mold and that I create each one by hand. It is sometime hard to duplicate them exactly.

As a thank you to all who have subscribed/followed, enjoyed and shared my art with others and as a welcome to new future followers, I want to say thank you with this fun give away! I hope you all will continue to follow me through out the coming year here at the HouseofDewberry for more creations, how-tos, inspiration and givaways.
How To Enter


To enter all you have to do is follow this blog or already be a follower. Please share with friends and family and leave me a comment on this post to let me know you have joined the giveaway and where you have shared it, pinterest, Facebook,Twitter, blog, etc.

Thank you!


Who- Open to US residents only.

Ending Date 10/23/12 12:00PM

Winner will randomly be chosen and announced in this post

Wednesday, October 17, 2012

Witches Shoes Cake Stand How-to


Another dollar store Halloween plate make over. Sometimes I just like to take a break from my more involved creations and do something fun, fast and easy and I just love these plates! I've been having a lot of fun with them. Here are direct links to the other two plates I made if you would like to view them. Dollar Store Halloween Plate Makeover and Dollar Store Halloween Orange Pumpkin Serving Tray

Here is how I created this one.


I cleaned the plate with warm water and soap, then wiped it with alcohol. This is the only prep I did. I use a black dollie on the plate under food to protect the plate.


I painted it with black craft paint.


I used white glue and purple glitter for the eyes of the skulls.


Supplies I used, minus the tea light


The legs are made from paper towel rolls, black glitter gift wrapping paper and purple glitter ribbon. I found the witches shoes at Michaels Craft Store. They were originally meant to hold a little tealight, however, in my imagination I saw something completely different.

The shoes weren't in the best condition when I found them. I had to fix them up a little by re-glittering the polka dots and repainting where the paint had chipped off but Michaels had them marked down appropriately which was very nice and they fixed up easily enough.


I wrapped the paper towel roll with the black glitter paper and glued it with a glue stick.

I then applied the glitter ribbon securing each wrap with a little dot of hot glue. The ribbon has 1" spaces between them.

Now I glued the paper towel roll into the shoes where the tealights were suppose to go.

It's a perfect fit!

Last I glued the plate onto the top of the rolls and there it is! A very simple, very Halloweenie, in a Witchey way, cake stand or gruesome goodie server!

Opps I almost forgot the purple spiders! I hot glued two little purple spiders onto the buckles! I found those also at Michaels in the floral department.

I hope you enjoyed this and that it inspires and encourages you to go out and create something Halloweenish! Have fun and thanks for reading!

Wednesday, September 26, 2012

Road Trip To A New Haunt


Mask one of my candle head pumpkins is off to a new home to haunt this year he will be relocating to Massachusetts.

I thought I would share a few pictures I shot of him before shipping him off.

I hope they enjoy him and that they all have a frightful Halloween!

And just a reminder that I will be hosting the House of Dewberry's first Halloween give away taking place in October which is almost here! Feel free to subscribe and be kept up to date. Have fun!

Tuesday, September 11, 2012

Dollar Store Halloween Craft Orange Pumpkin Serving Tray


In my last post I showed how I made-over a plastic Halloween tray which can be view here -> Halloween Serving Tray Makeover into a creepy crawler candle, serving tray. This post is an extension to that one.

This time I made it in a different color. The only real difference being is I used scrap booking paper on the paper towel roll candle and I didn't add any bead garland.
So there it is, a different variation and a simple Halloween craft. Thanks for looking!
Where I am sharing

Share Your Creations

Monday, September 3, 2012

Dollar Store How-to Halloween Serving Tray Makeover


Easy Dollar Store Plastic Plate Makeover for Halloween Goodies.

One simply cannot have too many serving trays at a Halloween feast to compliment the delightfully creepy fare one presents to their frightful visitors...

You wouldn't just throw bat wings or zombie brains on a floral vintage plate and call it a fright? Would you!

Anywho, I happened upon this transparent black plastic skull head serving tray and knew right away what it's potential was.

So I took it home and painted it black

It looked nice just black too

But I took it further anyway and dry brushed it with green metallic craft paint which added a kind of polished metal worn factor to it.

I thought it looked pretty authentic and far more sinister than the original plastic transparent plate, which by the way there is nothing wrong with the plastic plate, I love that the dollar store offers items that one can purchase and use as is at such a great price!

So there you have it an easy peasy Halloween serving tray makeover that cost little and takes about 10 min's to transform, depending on how fast the black paint dries and in the end turns into something far different and terrifically terrifying.

And since I just can't seem to keep it simple, here is how mine actually turned out in the end.

Thanks for looking and remember there are only 57 days left until Halloween! Yay!

Sharing at Funky Junk Interiors

delicateCONSTRUCTION


ItsyBitsyPaper

IgottaTryThatLinkyParty here
I Gotta Try That


I Gotta Try That


Monday, August 27, 2012

DIY Halloween Craft Candles


So I was checking out the Halloween decor at Michael's Arts and Craft store the other day and found these cute glitter skull pick's and thought the skulls would make a great focal point for these candles, they're the perfect size.

They come with a stick (pick) attached to them because they are used for floral arrangements, etc. I removed the pick as you can see in the above picture. I am only using the head.

What you will need to create your own:

Paper towel roll

Paper towel

Hot glue gun and glue sticks

Excato knife or a sharp knife

Glitter skulls 99 cents at Michaels

Scissors

Masking Tape

Tea Light

Black acrylic craft paint

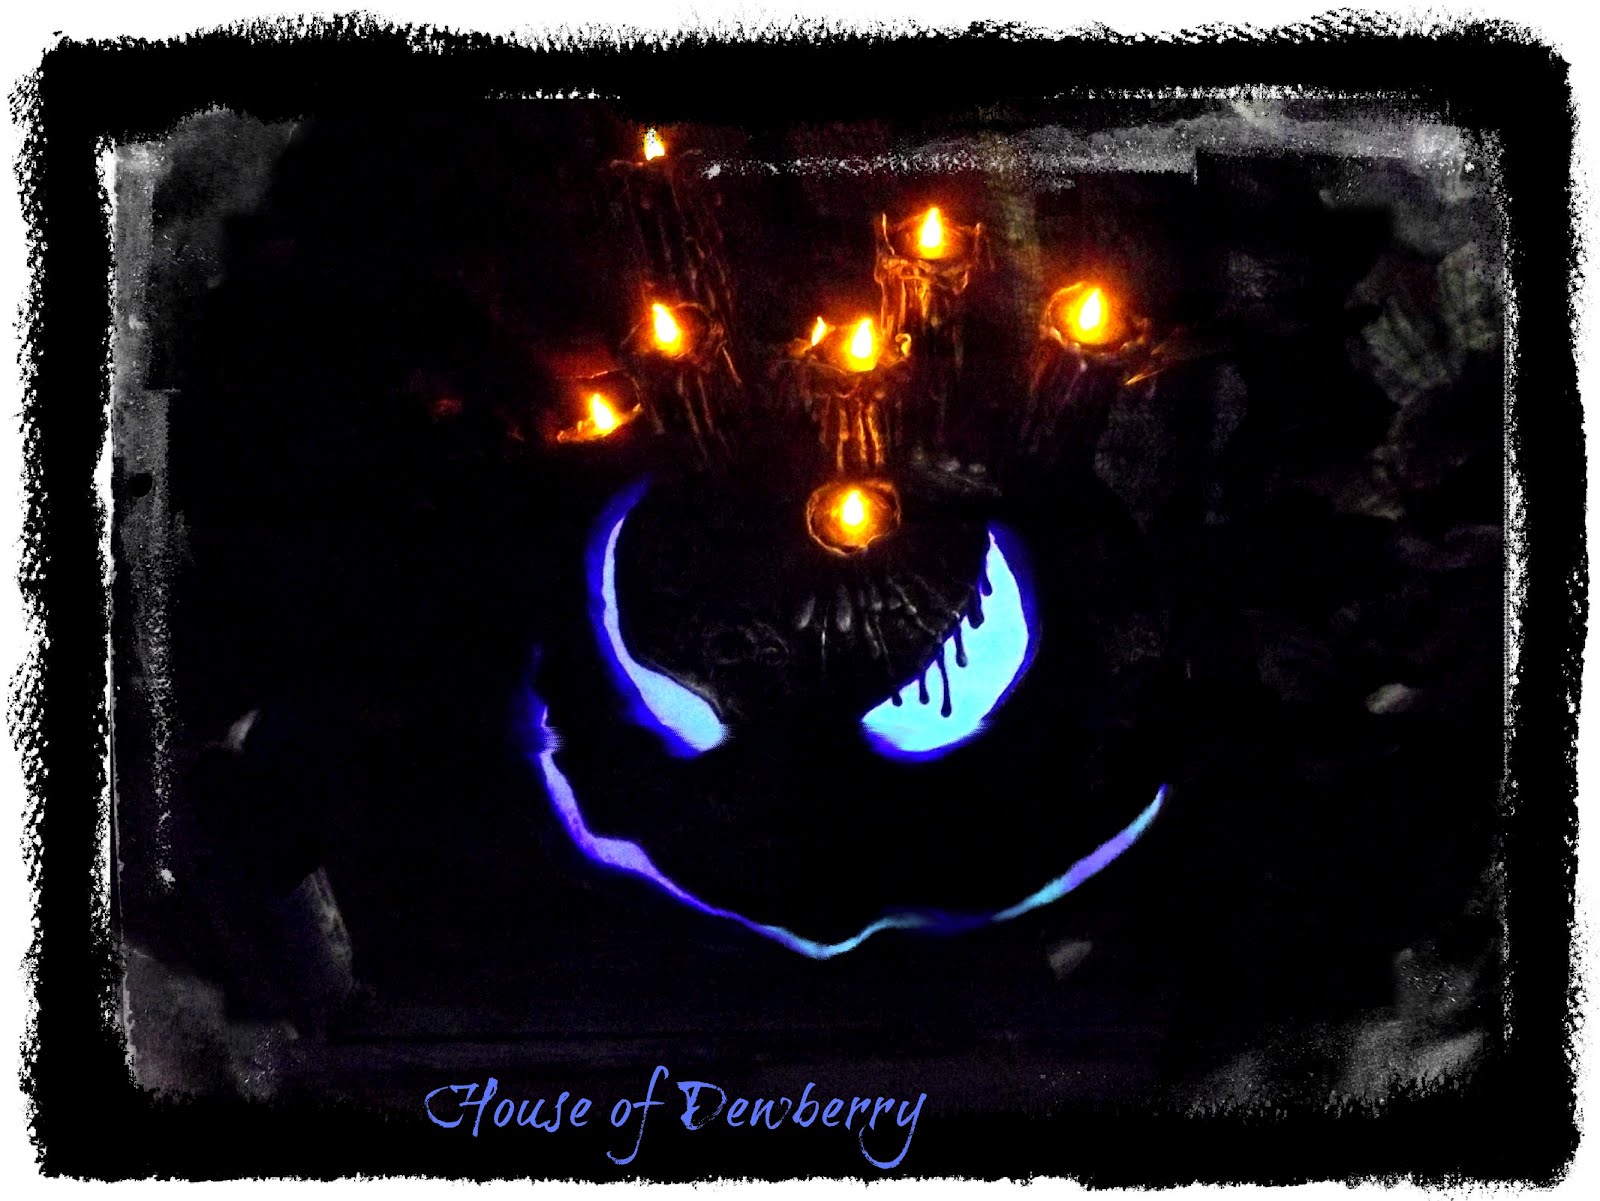
Paper tea light candles are the best for Halloween as they are safe and durable. You don't have to worry about someone or something knocking them over and starting a fire. They can go anywhere, table, mantel, shelf, window, porch anywhere you like.

My first step was to decide the height I wanted the candle and then cut it down to that size. I then slice the back of the head off of the skull.

For the top of the candle where the tea light will sit. I take the masking tape and "sticky side" down I place the tealight on it, then push the tealight and tape down into the top of the roll just far enough for the tea light to be level or if you like a little lower than the top of the roll. I do this three or four times folding the tape over and securing it to the outside of the roll until the top invert is covered. This will give support for the tealight.

Now I position the skull to the center of the paper towel roll and cut a circle. The circle does not have to be perfect it just needs to be large enough to fit the back of the skulls head into it.

Now I take the skull and fit it into the hole and drip a few drops of glue to secure it, again, if it doesn't fit perfectly it is ok, because the glue will seal the gaps.


If there is a large gap you can tear a little piece from the scraps and glue it on.


Now place the bottom of the paper towel roll onto the paper towel and start dripping glue around the middle letting it run down the roll and onto the paper, let it cool. This will help stabilize it and the candle will stand on it's own.

Once the glue has cooled you can tear the paper off I normally leave it until I am done gluing but if you find the paper cumbersome you can remove it. If by chance your candle does knock over while you are dripping the glue do not try to catch it, you will get burned! The candle falling will not hurt it, you can just re-drip where it messed up during the fall. Remember to be careful because the glue is really hot!

Now that the candle is balanced you can drip from the top. You can make as many drips as you like; a lot or a little it's up to you and how you want the candle to look. I covered most of the roll but it really doesn't matter it looks great with fewer drips as well. At this point if you have a duel temp gun you can turn it down and let it cool. If you don't have a duel temp you can simply turn the gun off and let it cool a little. This makes the drips run slower and cool quicker. Once cooled, drip some drops around the face letting it run down the forehead and sides of the face filling the gaps.

With the glue still cooled rim the top of the candle adding more in some spots to make it look a little less level and more like a real candle looks after the wax warms up and melts some areas more than others. If you have turned off your glue gun and it has cooled too much you can turn it back on heat the glue a little and turn it back off again. Cooler glue works better for the top.

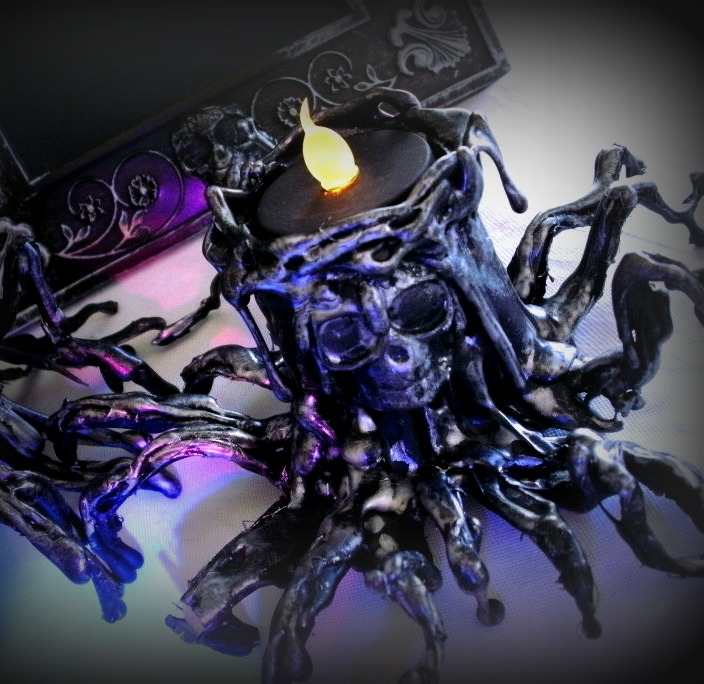
Now comes the paint. I used black acrylic craft paint and just slathered it on making sure to get all the nooks and crannies. I carefully painted the drips around the face and the tea light to match. That's it all done.

Now you can make more!

I made one in every color : )

I hope if you have tried this and you are happy with your candles you will share them with me, drop me a link so I can see them. If you need help or I have left something out, please feel free to contact me and I will be happy to answer any questions.