ko-fi

Translate

Welcome To My Darkside


Friday, October 29, 2021

Gargoyle Candle Prop How to


Cooler nights, shorter days, Halloween is on it's way!


Here is a list of items you will need to create this project


1. Plastic Gargoyle lawn fencing.


2 Paper towel roll.


3. Black, flat, latex paint or craft paint.


4. Wax paper.


5. Glue gun and glue sticks.


6. Tea lights, you need two lights for each candle you make.


7. Scissors.


8. X-Acto knife.


9. Masking tape, although, in this project, I used black electrical tape. Either are ok.


10. One piece of white printer paper

That's it, so lets get started!

Picture below is what the plastic fencing looks like. I found mine at the Dollar Tree Store.


What I did - I disassembled the fencing by cutting the Gargoyle's out with a pair of scissors and removed the plastic from the eyes with an X-acto knife.


Now that the gargoyle is craved out I lightly sanded it creating a surface that paint can adhere to.  I did not end up painting the ones I used here, as I liked how the sanding looked, you can get as creative with them as you please.

Important

Before using the glue gun, I highly recommend that you set up a bowl of cold water somewhere close by, in the case that the very hot glue, accidentally drips on you. Trust me on this one! Take the time to protect yourself.  The quicker you get that hot glue into cold water the quicker you cool the very hot glue. 


Now take your paper towel roll and hold the Gargoyle up to it and mark where you want the eyes to be, you will have to cut a hole into the paper towel roll so that the light can come through.

Now cut a hole in it.

Now you will take the white piece of printer paper, it could be any kind of paper, I just grabbed a piece of printer paper because it is bright white. It works to create a bright glow from the tea light that goes into the paper towel roll.

This is what it should look like. White inside

Next take your tape, you can use any tape, I normally use masking tape but I grabbed this black electric tape, simply, because I saw it first. Take the tape and create a seat for the tea light by placing the tape against the bottom of the candle with the sticky side down away from the candle. Insert the sticky side along with the tea light and push it down into the paper roll. The candle shape will press the tape to the sides. It takes about 5 or 6 pieces of tape to complete the seat.

This is what it should look like now.

Once that is done, you can paint the tube black.

Once that is dry, take a sheet of wax paper and place the paper towel roll on the sheet. You now need to stabilize your paper towel roll so that it can support the weight of the Gargoyle and to keep it from tipping over. To do this you need to puddle the hot glue around the bottom of the paper towel roll, like this.

Let that cool completely, that way the glue stays flat so that the candle stands straight. Once that part is complete you can poke a hole into the bottom of the paper towel roll where the wax paper is. This will be helpful when you are gluing the Gargoyle on.

Time to glue on the Gargoyle! Please make sure you use every precaution with the glue gun. Have your water next to you this part can get tricky. Take the Gargoyle and hold it up to the hole you cut into the paper towel roll makeing sure the eyes line up so that you will know where to apply your glue.   Please be very careful with this part, the plastic gargoyle can heat up and get quite hot. Also take precaution due to how hot your glue gun is that the gargoyle could actually melt. Mine got hot but no where near melting. To aid me while pressing the Gargoyle to the paper towel roll, I enlisted the help of a paint stick and used it by inserting it thought the bottom of the paper towel roll to hold the inside of the paper towel roll while I pressed the gargoyle to the roll. That's the reason I poked a hole into the wax paper. Hold the Gargoyle and paper towel roll until it cools completely. This is important. Once it cools check to make sure it is securely glued if it is loose add more glue and hold it again until it is completely cool. Since the gargoyle is flat it may not be flush with the paper towel roll so turn it over and check. Use the tape and seal the spaces around the back of the eyes making sure there isn't any light that can get through. This will prevent that light from diluting the glow from the tea light inside. It should look like this.

Once you have it taped you can put glue around the tape to make sure it stays, this will also help to secure and stabilize the Gargoyle as well. My electrical tape wasn't sticking very well so gluing over and around it really helped. If you are using masking tape, not to worry if the color of the tape is showing because you will be painting the paper towel roll again once you are done making the wax drips with the glue so the color of the tape will get covered up and not show.

This is what it should look like now

Once done with that part you should be able to stand your candle up, it should be strong and sturdy, not easy to tip and the Gargoyle sure not be loose at all. You can now stick a tea light into the bottom to see what it will look like when lit. Like I did in the above picture.

Now you can start to design the faux wax drips onto the paper towel roll parts that still show. You can do a lot or just a few around the top, it is all up to you. I did a lot and I used several glue sticks to do so.

Run some glue around the top of the candle being careful not to let any get inside the seat where the candle goes, if it does the candle won't fit. Once that is done you just need to repaint the paper towel roll making sure you get all the hot glue drips and tape behind the gargoyle. You can paint the candle and or the gargoyle to your liking what ever colors you choose.

Don't forget to paint the bottom, it gives it a finished look and feel.

I haven't painted my Gargoyles yet as I really liked the look the sanding gave them, however, that's not to say that I won't. For now I am still playing with them.

So I hope you enjoyed this paper towel roll candle How-to and if you decide to make some of your own that you share with myself and my readers! Thank you so much and I hope you find something here that will inspire you to create something spooky!

Monday, August 25, 2014

Fall Halloween Crayon Candle How-to


Fun, fast and easy is how I like it! This project is certainly that! I created these Fall/Halloween faux candles in about an hour and so can you!


To make these you will need:

Cardboard Paper Towel Rolls (however many you decide you want to make)

Glue stick

Printed napkins, gift wrap, scrap-booking paper

Tape

Mog Podge

Crayons (that match your paper)

Scissors

Plastic tea lites

Waxpaper or Newspaper *something to protect your work surface*

Heat Gun *to melt the crayons*

Bottle *to hold the paper towel roll while you melt the crayons*


So lets get started!
These are the two napkins I chose, I really liked the Fall colors.


Owl

Pumpkins


Here is what your Napkins will look like unfolded. The creases do not matter because once you roll and glue the creases will disappear.


Take your paper towel roll and napkin and decide how you want to position your design on the roll and how tall or short you want your candle, then cut the roll. When cutting your napkin make your cut an inch taller than the roll, you will tuck the extra in at the top of the roll. Use the cut side of the roll for the top, that way the bottom is still level.


Once you have decided on the positioning allowing for the extra inch at the top, take your glue stick and run it along the first edge of the napkin being careful not to tear it. Only apply the glue to the edge of the napkin or your napkin will wrinkle and you will not be able to smooth the paper down against the cardboard as it is thin and will tear.

Now that you have the first edge glued, you can smooth the napkin making it tight and apply glue to the other edge. Now that both sides are glued you can tuck in the top.


Now to create the seat for the tea lite. Start by tearing off a piece of tape and sticky side down position it an inch or so inverted into the top of the roll. You can use your tea lite to help push the tape into position. Now repeat one piece at a time until the top is covered. It should look like this, although, I put this one too far into the roll so the lite sits too far down into it. You might want to make yours level with the top.


Take the Mod Podge apply a thin coat again being careful not to tear the paper. Once that is dry if you feel it needs another coat you can appy it now.

Time for the crayons!


You should put something down to protect your work surface. I put wax paper down. I also put my candle on top of an old bottle to hold it in place while I melted the crayons. The crayons melt very fast and the wax is thin like water so it can blow and splatter if there is air generated by the heat gun. So use caution.


Remove the paper from the crayons. Carefully hold the crayon over the top rim of the paper towel roll apply the heat and let the wax drip down the roll! Fun! You can use as many colors as you want so get creative!


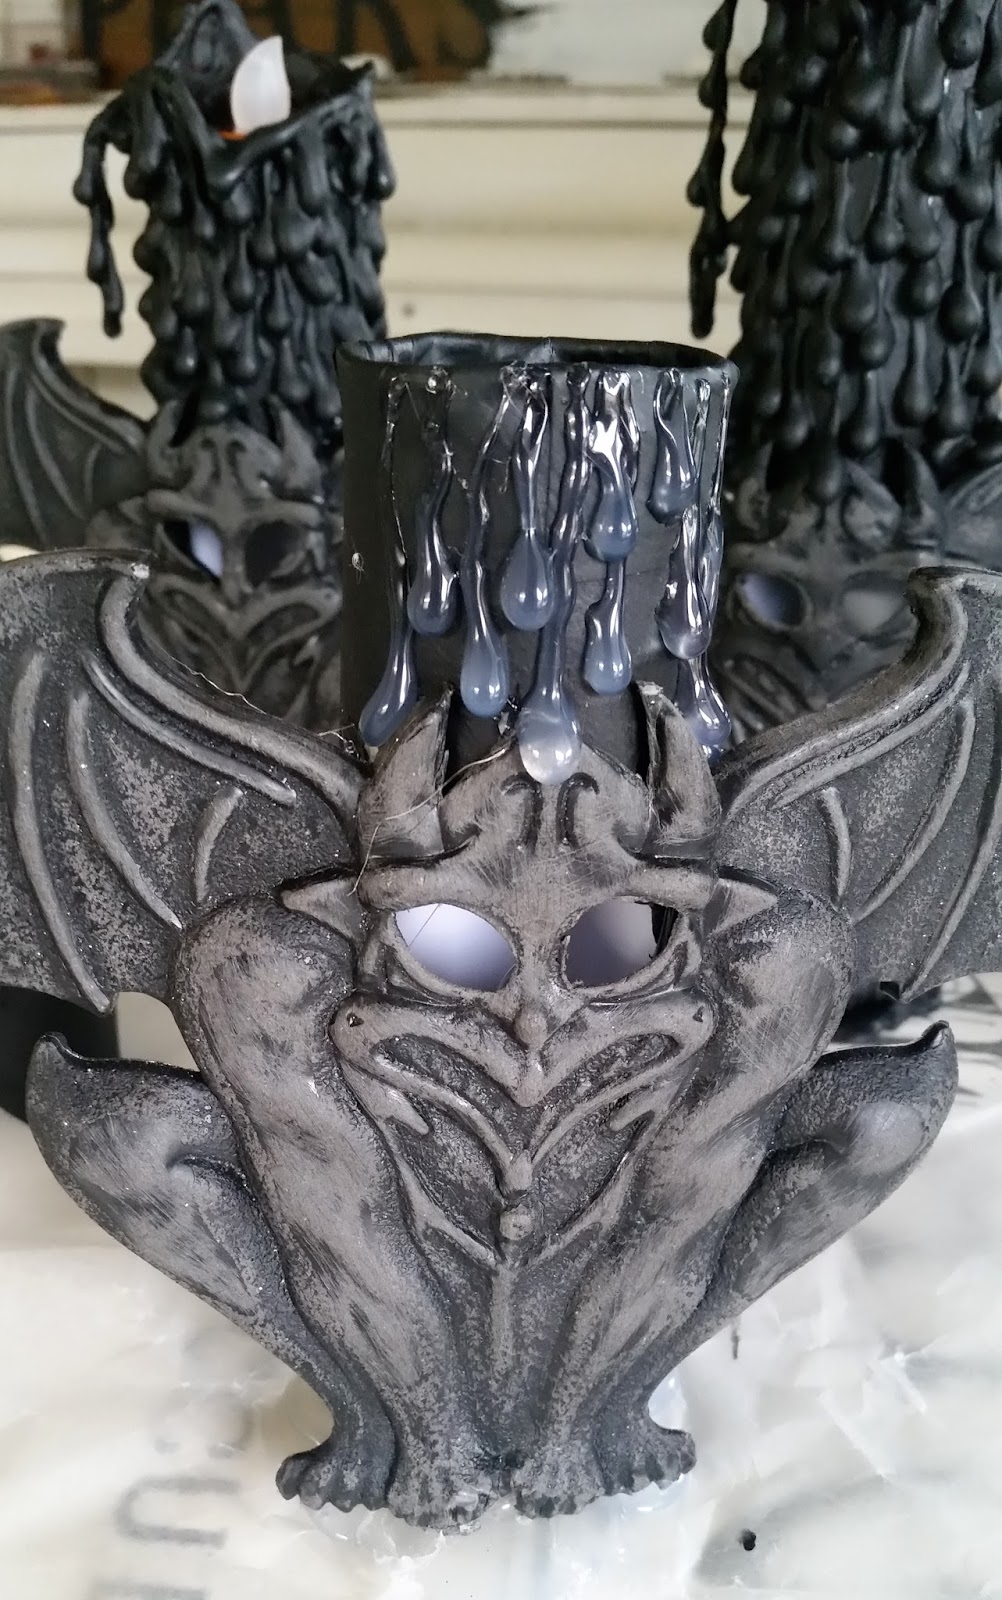
That's it now your done and you can admire your beautiful candles! They are perfect for anything. Table scape, mantel. imagine them tucked into a Fall or Halloween center piece.


Thank you for following along! Have fun!

Sunday, September 1, 2013

Handmade Halloween Paper Roll Candle How-To Skull Jester


Last year I shared a simple candle craft project that I created using glitter skulls I had picked up from Michaels Art and Craft store and thought I would do the same with these cute little glitter skulls I also found at Michaels. If you want to check out last years post here is a link to it. Skull Candle How-to


This candle is made almost the same way except you do not have to cut the skull in half. This skull is smaller and it is made from plastic, not Styrofoam.


To get started here is a list of supplies you will need.


Glue gun and glue sticks. (I used 4 sticks for this project, you may use less or more, it is up to you)


Xacto knife


Masking tape


2 Paper towel rolls

Glitter skulls (purchased at Michaels)

Black and silver metallic craft paint which I forgot to include in the picture. You can purchase the craft paint at Michaels.


Before we get started I want to stress the importance of taking precautions when working with hot glue for those who are inexperienced. It would be good to have a bowl filled with ice and water on the table close to you. In the event that you get hot glue on you, you can quickly submerge or pour on the water it will cool the glue disabling it. It is instinct once one realizes they are burning to try and quickly brush the burning glue off. That only ends with another burn. So please take the extra precaution and save yourself from a nasty burn. If at any point after you start to apply the hot glue to the roll and it gets bumped and starts to tip over (((DO NOT GRAB IT))). It's covered in hot glue and it's HOT! Let it fall, the glue will clean up and it will not hurt the candle drips. You can just glue over any places you don't like. If you are creating with children it is very important that they know this and what to do if glue gets on them.

Ok, let's get started! Take the paper roll, choose where you want the skull positioned on it, then make a hole using your scissors or xacto knife, a small circle the size of the back of the skulls head. Next, secure it into the hole. It really doesn't matter if the hole is perfect, you will be applying glue around the head which will fill in any gaps.


Now that the skull is where you want it, you can put a little glue around the face area to secure it.

Time to take the smaller roll and cut it in half to make the Jester hat.


To do that I flattened the cardboard tube and cut some v's into it, I don't measure the cut's out or anything creative like that, I just cut it.


When you are finished cutting the V's, cut that piece in half as well.


Paint the little hat black then let it dry. You can speed things up with a blow dryer. When dry, take a pencil and curl the tips.


Glue the hat onto the skull and candle by placing a drop of hot glue on both sides and pressing each side of the hat onto the candle. Be careful not to burn yourself with the glue.


To create the top of the candle, you will need to tear off several pieces of tape, approximately 3" you will need 5 or so. Take the tape sticky side down and place the tea light on it then tuck it into the hole the sticky side of the tape will stick to the sides of the roll. Continue this until the hole is covered. The tea light should now fit easily down into it and not fall down into the tube.

When done placing all the tape pieces, it should look like this. Fold over the extra tape if there is any.

Paint the paper roll black and let dry.


When dry place the candle onto a paper towel standing upright, this will not only protect your surface from the hot glue drips, it will hold the puddles you will make to support your candle and allow it to free stand. Time to start dripping! But first make some glue puddles around the bottom of the candle, this will keep it from tipping over and should look like this.


Cover most of the candle in drips making sure to cover up and around the skull to fill any gaps and to give it a seamless appearance. It should look like this.


When you are happy with your candle wax effect, it is time to paint the drips black and let it dry.


It should look like this now.


Now for the dry brushing. Take some of the silver metallic paint squeeze a little on a paper towel, then dip your brush. Then take your brush and brush it back and forth on the paper towel to take some of the excess off, then lightly brush the raised glue drips back and forth until you get the effect you want, tear off the paper towel and you're done!


This is what it should look like all finished! You can paint the tea light to match.


Have fun and let me know how yours come out!